How to Transfer Google Photos from One Account to Another
If you plan to change your Gmail address or move from one Google account to another, transferring your Google Photos content is likely on your to-do list. However, if you've looked into your options, you may have found that migrating Google Photos is more complex than it seems.
In this article, we explain why automated migrations typically do not include Google Photos and outline two ways of transferring your Google Photos to another account:
- Sharing and saving content to the second account [recommended]
- Manually exporting and importing photos and videos
We also provide instructions on transferring your Google Drive files to a different account.
- How to transfer Google Photos from one account to another
- Option 1. Transfer Google Photos to another Google account through partner sharing
- Option 2. Copy Google Photos by downloading and re-uploading the files
- Transfer Google Drive files to another account
- Transfer Google Photos to iCloud
- BONUS: Transfer Google Photos to an external hard drive
- Frequently asked questions
- Conclusion
- Related articles
- Related videos
How to transfer Google Photos from one account to another
Although Google Photos and Google Drive share storage space within a Google account, they have been separate products since July 10, 2019, each with its own migration process.
As a result, it’s no longer possible to quickly transfer photos directly from Google Photos to Google Drive, and automated transfers of Google Drive content to a different Google Drive do not include Google Photos. Therefore, if you’re moving to a new account, you must migrate Google Photos separately from your Google Drive files.
However, as of April 1, 2025, migration tools like VaultMe can no longer access and transfer Google Photos automatically.
To transfer content between different accounts, automated migration apps use APIs, the programmatic interfaces that allow different applications to communicate with each other. While Google's APIs for Gmail, Google Drive, Contacts, and Calendars allow for seamless transfer of large amounts of content, the same functionality for Google Photos is not available.
This article explains how Google Photos can be migrated with or without downloading and re-uploading the content.
Option 1. Transfer Google Photos to another Google account through partner sharing
Using this method, you can create copies of the files from the source account in the destination account. These copies will be independent of your source account, and ownership will not be transferred, so your original photos will stay unchanged in the source account.
You will link the accounts by sharing the photos and then saving the shared content to the destination account. After all steps are completed, you'll be able to delete the photos in the source account.
The metadata of the photos (such as dates, camera details, and others) will be saved.

While it is possible to save shared photos to the destination account, folders will not be copied. If your photos are organized into folders, you will need to additionally copy folders once you've saved all of the content, as explained further below in Step 4.
To transfer Google Photos to another account through re-sharing:
Step 1. Check if you have enough storage in the destination account.
Initially, copied photos will not take up storage space in your destination account. However, when you delete the original photos from your source account or when your source account is deactivated, copied photos will start counting against your total storage quota in your destination Google account. You should therefore ensure that you have enough free storage space in the destination account before copying the photos.
To prepare for the transfer:
-
Check how much storage is used by Google Photos in the source account. If you have a personal account, you can simply navigate to the Google Storage page.
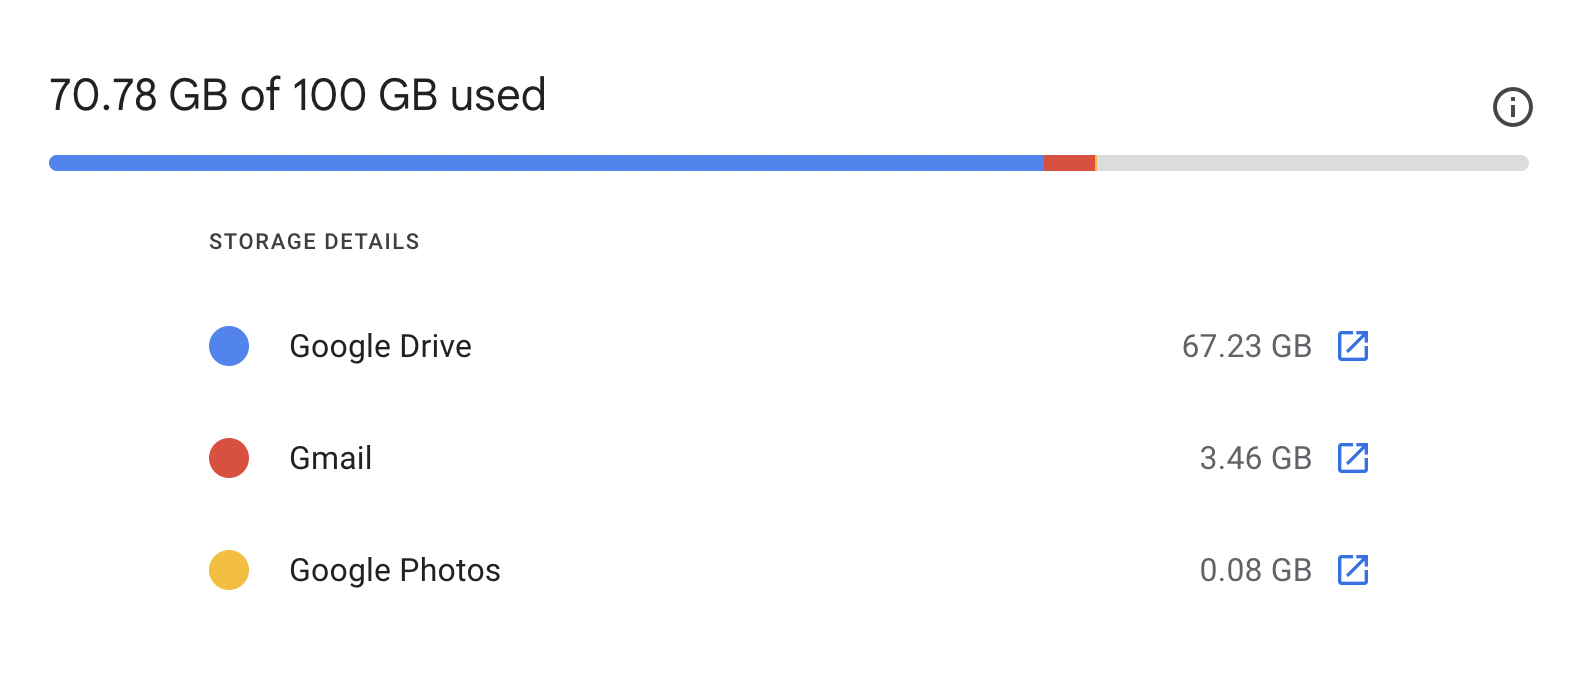
Check your storage use for Google Photos If your account is managed by an admin, navigate to My account > Payments and subscriptions > Account storage.
-
Check if you have at least the same amount of free storage available in the destination account. Remember that while Google Photos is a separate service, it shares storage space with Gmail and Google Drive.
If you don't have enough free storage space in your destination account, you may consider purchasing additional storage for this account or copying only selected albums or photos.
Step 2. Share the photos with your destination account.
-
On your computer, sign in to your source account and navigate to Google Photos > Settings > Partner Sharing.
-
Select "All photos" and click "Next."
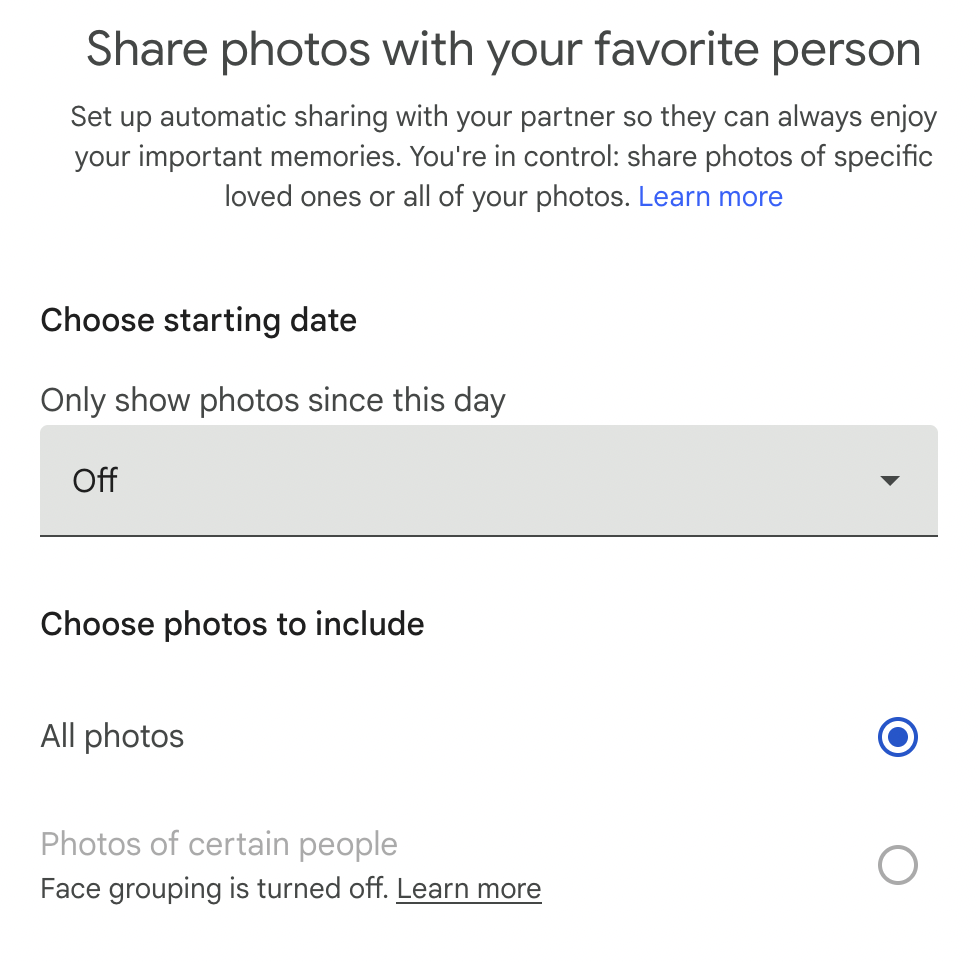
Share your Google Photos with your other account -
Add the email address of your destination account.
-
Send the invitation.
-
Open the email sent to your destination email address and accept the invitation.
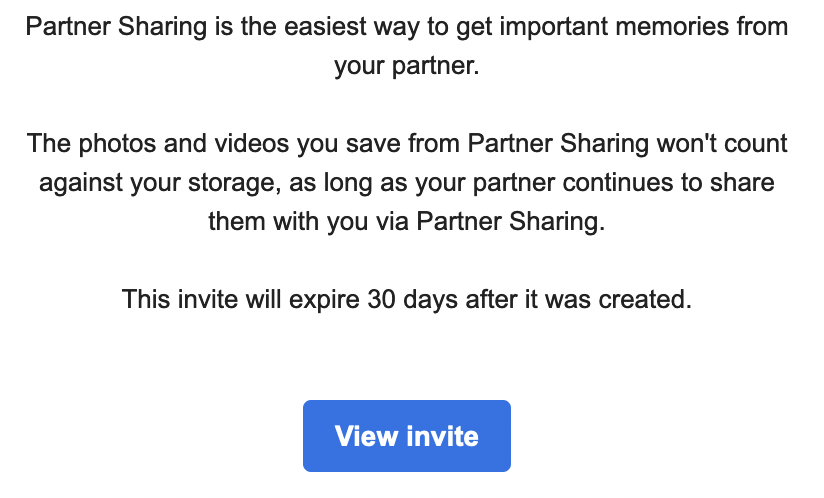
Accept the Google Photos invitation in your other account -
Select "Not now" when Google Photos asks if you want to share photos back with your source account.
Step 3. Save shared photos to your destination account.
- Navigate to Google Photos in your destination account.
- Click "Sharing" in the left-hand panel.
- Click the name of your source account on the right. This will allow you to view all photos that you've shared with your destination.
- In the top-right corner, click the three-dot menu.
- Select "Settings" and scroll down to "Partner sharing."
- Click "Save to your account."
- Select "Save all photos." This will save all of your photos, both with and without folders, to the destination Google Photos account.
If lots of your photos are organized into folders, you'll need to re-create the folder organization manually, as explained below in Step 4.
Step 4. Re-create folders in the destination account.
You can skip this step if you don't want to retain the album structure.
Google Photos does not offer users the ability to retain folder structure when saving shared content, so now you need to additionally copy folders. The process will involve going through each of your folders in the source account and copying them again. This will not duplicate the photos that have already been copied during Step 1.
Repeat the following process for each folder in the source account's Google Photos:
-
Sign in to your two accounts using different browser tabs.
-
Open one album in the source account.
-
In the top-right corner, click the "Share" icon and select "Create link."
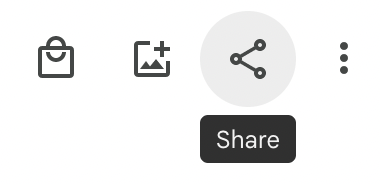
Share a selected album with your other Google Photos account -
Copy the link and paste it into a browser tab where you are signed in with your destination account.
-
Open the album and select all photos in the album. Hold Shift and click to select many items at once.
-
Click the plus icon in the top right corner.
-
Select "Album" and re-create the folder by selecting "New album" and adding a folder name to mirror the album in the source account.
After these steps are complete for each album you have in the source account, the images that you've copied previously will be arranged into albums just like in the source account. You will be able to view albums in the "Library" > "Albums" section of Google Photos as well as in the "Photos" view.
If you delete the files from Google Photos in the source account or your source account is deactivated after you copy your files using the method explained above, copies in the destination account will not be affected. However, they will start counting against your Google storage. Sometimes, photos start counting against the storage quota in the destination account with a delay.
If you exceed your Google storage quota, you will not be able to send or receive emails and add new files to Google Drive or Google Photos unless you delete some content or buy additional storage.
Option 2. Copy Google Photos by downloading and re-uploading the files
This method will not save the metadata of the photos (dates, camera details, description, and others) or the folder organization.
Ensure that you have enough free storage space on your hard drive before downloading Google Photos content.
To transfer Google Photos to another account manually:
Step 1. Download your Google Photos content.
Photos can be downloaded manually or using Google Takeout. Selecting and downloading the photos individually may be preferable if you have a small number of images. If you have lots of photos, manually selecting all of them may not be possible. In this case, consider extracting the images using Google Takeout.
-
To download photos to your computer using Google Takeout, refer to this helpful guide: How to download your Google data. Remember that Google Takeout will put downloaded content in multiple zipped archives without retaining the folder structure, so you'll need to unzip the archives and reorganize photos before uploading them.
-
To download the photos manually, use this article: Download photos or videos to your device.
Step 2. Upload your Google Photos.
-
On your computer in a browser, create an album in the account using the "Create album" button in the top-right corner (optional).
-
If you've created an album, you'll have an option to add photos to it immediately after creating it.
Click "Add photos" to upload photos To add photos without creating an album, click the "Upload" button in the top-right corner.

Click "Upload" to add photos to Google Photos -
Select one or more photos (Ctrl+select) and click "Open."
-
Wait for the photos to upload.
-
Repeat for other albums (optional).
Transfer Google Drive files to another account
Luckily, transferring Google Drive files to a different account is easier than migrating Google Photos. Although just like Google Photos, Google Drive items can be copied manually, you can save effort by using a migration app that automatically transfers your content.
VaultMe is a secure, user-friendly application designed to transfer files between online accounts. It has assisted millions of users in copying their data efficiently.
Here's why we recommend VaultMe for Google Drive migrations:
-
In addition to Google Drive, it can transfer Gmail emails, contacts, and calendars to another account.
-
It transfers owned and shared documents while retaining their folder structure, file formats, and formatting within the document.s
-
It works in the cloud, so you can close the migration and even power off your device immediately after setting up a migration.
-
It is quick to set up, easy to use, and works fast.
-
It generates a migration report at the end of the transfer, allowing you to verify the results.


Transfer Google Photos to iCloud
If you have an iCloud account with sufficient storage space, you can consider migrating your Google Photos content there using Google Takeout. Remember, however, that some metadata may not be transferred, and the precision of the results is not guaranteed.
To transfer Google Photos to iCloud using Google Takeout:
- Ensure that iCloud Photos and iCloud Drive are enabled.
- Verify that you have sufficient iCloud storage.
- Go to the following page: Google Takeout.
- Include Google Photos in your export.
- Choose "Apple - iCloud Photos" as the destination and sign in with your Apple Account.
- Grant Google all the necessary permissions to add photos and videos to your iCloud.
- Wait for the transfer to complete.
We recommend reviewing Apple's instructions before setting up your Google Photos transfer: Transfer a copy of your photos and videos to iCloud Photos. Consider the limitations of the method before you begin.
BONUS: Transfer Google Photos to an external hard drive
If you don't have enough free storage space in any of your cloud accounts, you can save your Google Photos content to a hard drive instead. This process will involve using Google Takeout.
The metadata of the photos (dates, camera details, description, and others) and the folder organization may not be saved.
To transfer Google Photos to a hard drive:
- Go to the following page: Google Takeout.
- Include only Google Photos in your export.
- Wait for the email confirming the completion of the download.
- Download your archive.
- Unzip and reorganize the archive if necessary.
- Copy the content to an external hard drive.
Frequently asked questions
How do I back up Google Photos to a different account?
You can set up partner sharing for all your photos, both existing and new, with the backup account and then save the photos to the backup account. This way, even if your original account is deleted or compromised, the photos in the backup account will not be affected.
Can I transfer all my Google Photos to a different account?
Yes. Here's how you can do that:
- Set up partner sharing in account 1.
- Get the invitation and accept the shared photos in account 2.
- Save the photos to account 2.
- Copy folders.
- Delete the photos from account 1.
For more detailed information about all available options, see our article above.
How do I download all photos from Google Photos?
Google Takeouts allows you to extract all photos or only selected albums from Google Photos. This method, however, has limitations that we discussed above. Review them carefully before setting up a Google Takeout export.
Conclusion
Transferring Google Photos from one account to another may seem challenging due to the lack of direct integration between Google Photos and Google Drive and limited API functionality, but it is definitely achievable with the methods outlined in this article.
Whether you choose to link accounts and share photos or opt for the download-and-upload approach, each method has its own set of steps and considerations. By following the detailed instructions provided in this article, you can successfully migrate your Google Photos to a new account. Remember to consider storage capacities and choose the method that best suits your needs and timeline.
If, in addition to Google Photos, you want to transfer your Gmail, Drive files, Contacts, and Calendars to a different account, consider using VaultMe, an automated tool for migrating content between online accounts.
Related articles
If you are considering using Google Takeout to extract your emails and files, learn what challenges you may face: Google Takeout Alternative.
Need to transfer your Google Drive to another account? Learn how you can do that: How to Transfer Google Drive to Another Account.
Want to transfer your Gmail emails to a new account? Our article outlines the process: Change Gmail Address Without Losing Your Data.
Need to copy shared files to a different account? Here's what you need to know: How to copy "Shared with me" files from one Google Drive to another.
Want to switch email service providers? The following articles provide helpful tips:
- Migrate Google Docs to Office 365
- Migrate Gmail to Outlook in Two Ways
- Migrate Google Drive to OneDrive